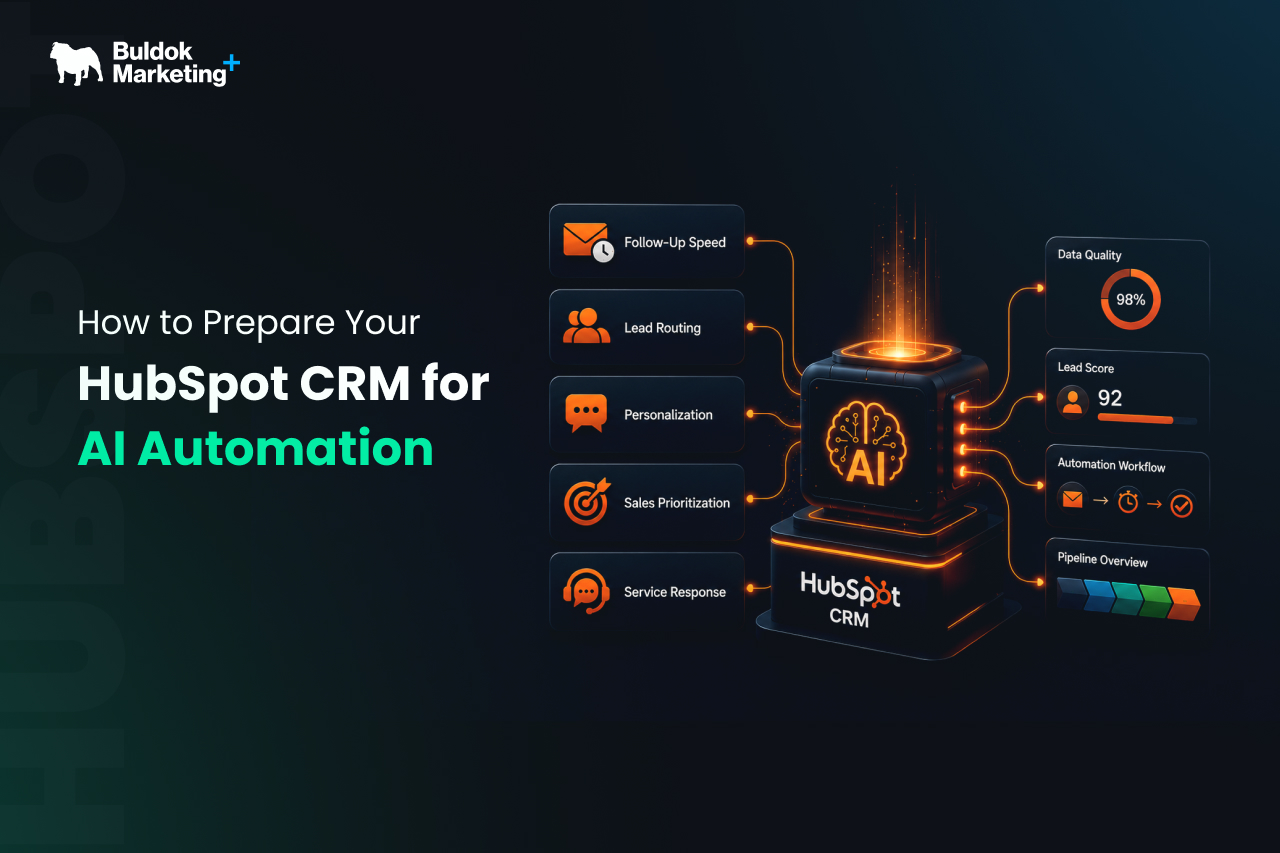
Connecting your domain to HubSpot sounds like a basic setup task. And technically, it is.
But this is also one of those “small” steps that quietly affects everything that comes after it. Email deliverability. Brand trust. Tracking accuracy. Landing page performance. And how professional your marketing looks.
Most teams treat domain connection as a checklist item. They follow a help article, copy a few DNS records, see a green checkmark, and move on.
That’s where problems start later.
In this guide, we’ll walk through how to connect your domain to HubSpot properly, step by step, with context for why each step matters, so that you don’t have to revisit this six months from now.
What “Connecting a Domain to HubSpot” Actually Means
Connecting a domain to HubSpot means pointing specific DNS records, typically CNAME and TXT entries, from your domain provider to HubSpot’s infrastructure, so the platform can send authenticated email or serve hosted pages from a domain you control.
Before getting into steps, it’s important to understand what HubSpot actually means by “connecting a domain.”
In HubSpot, domains are connected for specific purposes, not as a single global setting. Most teams end up connecting more than one domain, each serving a different role.
The two most common types are:
- Email sending domains are used to authenticate marketing emails
- Website or content domains, used for landing pages, blogs, and hosted pages
These are configured separately, use different DNS records, and solve different problems. Treating them as one combined task is a common source of confusion.
Why This Setup Deserves More Attention Than It Gets
Domain connection is often treated as a technical checkbox. That mindset creates avoidable issues later.
Here’s what this setup actually influences:
- Email deliverability
Inbox providers look for clear authentication signals. Without them, even legitimate emails can be filtered or deprioritised.
- Trust and brand perception
Branded domains signal legitimacy. Generic URLs or misconfigured links quietly reduce confidence.
- Tracking accuracy
Domains affect how HubSpot tracks sessions, clicks, and conversions. Poor setup can fragment data across multiple URLs.
- Future flexibility
Fixing domain issues after campaigns go live often means re-authentication, broken links, and retroactive cleanup.
This is foundational work. It does not drive results on its own, but weak foundations show up everywhere else.
What You Should Prepare Before You Start
A clean setup starts outside HubSpot.
Before connecting anything, make sure you have:
- Admin access to your HubSpot account
- Access to your domain’s DNS provider
- A decision on which subdomains you will use
Most teams benefit from using:
- A dedicated subdomain for email
- A primary branded domain for pages
Making these decisions upfront avoids rework later.
Connecting your Domain to HubSpot Step-by-step
Step 1: Decide Which Domains You Will Connect
HubSpot allows multiple domains, each assigned to a specific content type.
At a minimum, most setups include:
- One domain for marketing email
- One domain for website pages or landing pages
For email, using a subdomain is strongly recommended. This protects your main domain’s reputation and isolates email performance issues if they occur.
This is a design choice, not just a technical one.
Step 2: Connect Your Email Sending Domain
To connect an email sending domain in HubSpot:
- Go to Settings
- Navigate to Marketing → Email
- Select Email Sending Domains
- Click Connect a domain
HubSpot will guide you through adding DNS records, typically including SPF and DKIM.
These records tell email providers that HubSpot is authorized to send emails using your domain.
Why this step matters
Without authentication, inbox providers have no way to verify sender legitimacy. This affects inbox placement regardless of email quality.
One important rule here:
Never remove existing SPF records. Most domains already use SPF for tools like Google Workspace or Microsoft 365. You extend SPF, not replace it.
Step 3: Understand DNS Records Before You Add Them
You do not need to be a DNS expert, but you do need to know what you are touching.
In most cases, HubSpot asks you to add:
- CNAME records for verification
- TXT records for authentication
These changes do not move your website or break email if added correctly. They simply create permission signals.
The most common mistake at this stage is copying records incorrectly or placing them in the wrong field. Taking an extra minute here saves hours of troubleshooting later.
Step 4: Connect Your Website or Landing Page Domain
Next, connect the domain you will use for hosted content.
In HubSpot:
- Go to Settings > Website > Domains & URLs
- Click Connect a domain
- Choose Website
- Select the content types this domain will support
HubSpot will provide a CNAME record that points your domain to HubSpot’s infrastructure.
Why this step matters
Using a branded domain for pages improves credibility and conversion confidence. Visitors are far more comfortable submitting forms on a domain they recognize.
It also ensures consistent tracking across sessions and campaigns.
Step 5: Verify the Domain Connection
Once DNS records are added, HubSpot verifies them automatically.
This is where patience matters.
DNS propagation can take anywhere from a few minutes to 24 hours, depending on the provider. During this time, HubSpot may show the domain as “pending.”
Re-adding records or making changes repeatedly does not speed this up. It usually makes things worse.
Step 6: Set the Primary Domain Carefully
If you connect more than one domain, HubSpot will ask you to choose a primary domain.
This determines:
- Which domain appears in default links
- How canonical URLs are handled
- How content is indexed and referenced
Changing the primary domain later can affect tracking consistency and search visibility. Align this choice with your long-term website structure, not just your first campaign.
Step 7: Test Before You Publish Anything
This step is often skipped, and it shows.
Before sending traffic or emails:
- Send test emails and check inbox placement
- Click links to confirm the correct domain appears
- Load landing pages in a private browser
- Confirm tracking parameters persist across pages
Testing here prevents silent failures later.
Common Issues Teams Run Into
Even when following the official documentation, a few patterns come up repeatedly.
- Using the root domain for email sending
This exposes your primary domain reputation unnecessarily.
- Overwriting SPF records
This can break email for other systems instantly.
- Connecting domains after campaigns are live
Fixes become reactive instead of preventive.
- Ignoring authentication visibility
Setting up DMARC helps monitor issues before they escalate.
Each of these problems is avoidable with a more deliberate setup.
How This Setup Supports Everything That Comes Next
A properly connected domain does not create conversions on its own. What it does is remove friction.
It supports:
- Reliable email delivery
- Consistent tracking
- Professional presentation
- Fewer technical interruptions during campaigns
When the domain setup is clean, teams spend less time debugging and more time improving performance. It is one small example of the difference between a working HubSpot portal and a scalable one: the foundational steps that get rushed early are the ones that resurface as cleanup work later.
Final Pre-Launch Checklist
Before moving on, confirm:
- The email sending domain is authenticated and verified
- The website or landing page domain is connected
- Primary domain is correctly assigned
- Test emails and pages behave as expected
If all of this checks out, your HubSpot foundation is solid.
One Last Thought
HubSpot’s documentation tells you what buttons to click. Experience tells you which decisions matter.
Domain connection is one of those early steps where thoughtful setup quietly saves months of cleanup later.
Frequently asked questions
How long does DNS propagation take?
Propagation time varies by provider and record type, ranging from a few minutes up to 24 hours in slower cases. HubSpot shows the domain as “pending” until verification completes. Making repeated changes to the records during this window typically resets propagation rather than speeding it up, so the safest approach is to add the records once, correctly, and wait.
Can I connect multiple domains to one HubSpot account?
Yes. Most HubSpot accounts connect at least two domains, one for email sending and one for website or landing pages, and larger organizations often add further subdomains for specific campaigns or business units. Each domain is configured separately, with its own DNS records and its own role.
Do I need to move my domain registrar to use HubSpot?
No. HubSpot does not require you to transfer domain registration. You keep your domain with your existing registrar and simply add the DNS records HubSpot requests through that registrar’s control panel.
If you want confidence that your HubSpot domain setup is aligned with how you plan to grow and not just how you plan to launch, that’s where a second set of eyes helps.
Looking to set up HubSpot cleanly and correctly from the start? A structured HubSpot onboarding process covers domain setup alongside the rest of your portal foundation.
Buldok Marketing helps teams configure HubSpot foundations that support performance, clarity, and long-term use.